First of all, Picnik is free! Second, I don't need to download anything onto the laptop, so the Hubby approves. Third, Picnik does everything I need that Photoshop does like adjusting exposure, cropping and resizing images.
 |
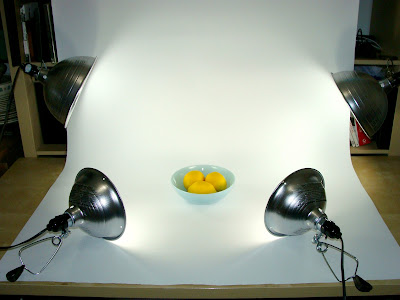
| Vintage Fire King bowl photo shoot. |
Original, un-edited photo.
The images start off a little dark. I've tried endless combinations of settings on my camera, but auto-focus point and shoot with flash seems to give me the best results. I like to add a prop to give the item a sense of scale. These fake lemons from Michaels are the right color, size, and are always ready to go.
Basic Edit: Sharpen
The next step is to upload your images into Picnik. If you are using the free version, you can upload 5 images at a time. The first thing I do is sharpen the image. Under Basic Edit, select "Clarity" and move the slider to the right. This tool will isolate the edges of objects and make it easier to apply contrast in the next step.
Basic Edit: Exposure
Next, go the the Exposure tool. You will need to play around with the sliders until the image looks good to you. I like to lighten up overall, and then add some contrast. The background doesn't always completely turn white, but some gradient shades of gray are a nice effect against some lighter objects.
Basic Edit: Crop
You will need to crop the image to a square. Thumbnails and listing view appear square on Etsy. Gallery view is rectangular and will crop off the top and bottom portions of your image, so you want to leave some space accordingly.
Basic Edit: Resize
According to Etsy, 1000 pixels is an optimum image size. Use the resize tool to change your image to 1000 pixels square.
Now the photo is ready to list on Etsy! Editing your images takes a little work and practice, but the results are definitely worth it!
Thanks to Picnik, I don't need to rush out and buy a new computer. Maybe I'll spend the money on something fun instead...like a new range with an oven that works. Oh the possibilities!


No comments:
Post a Comment